
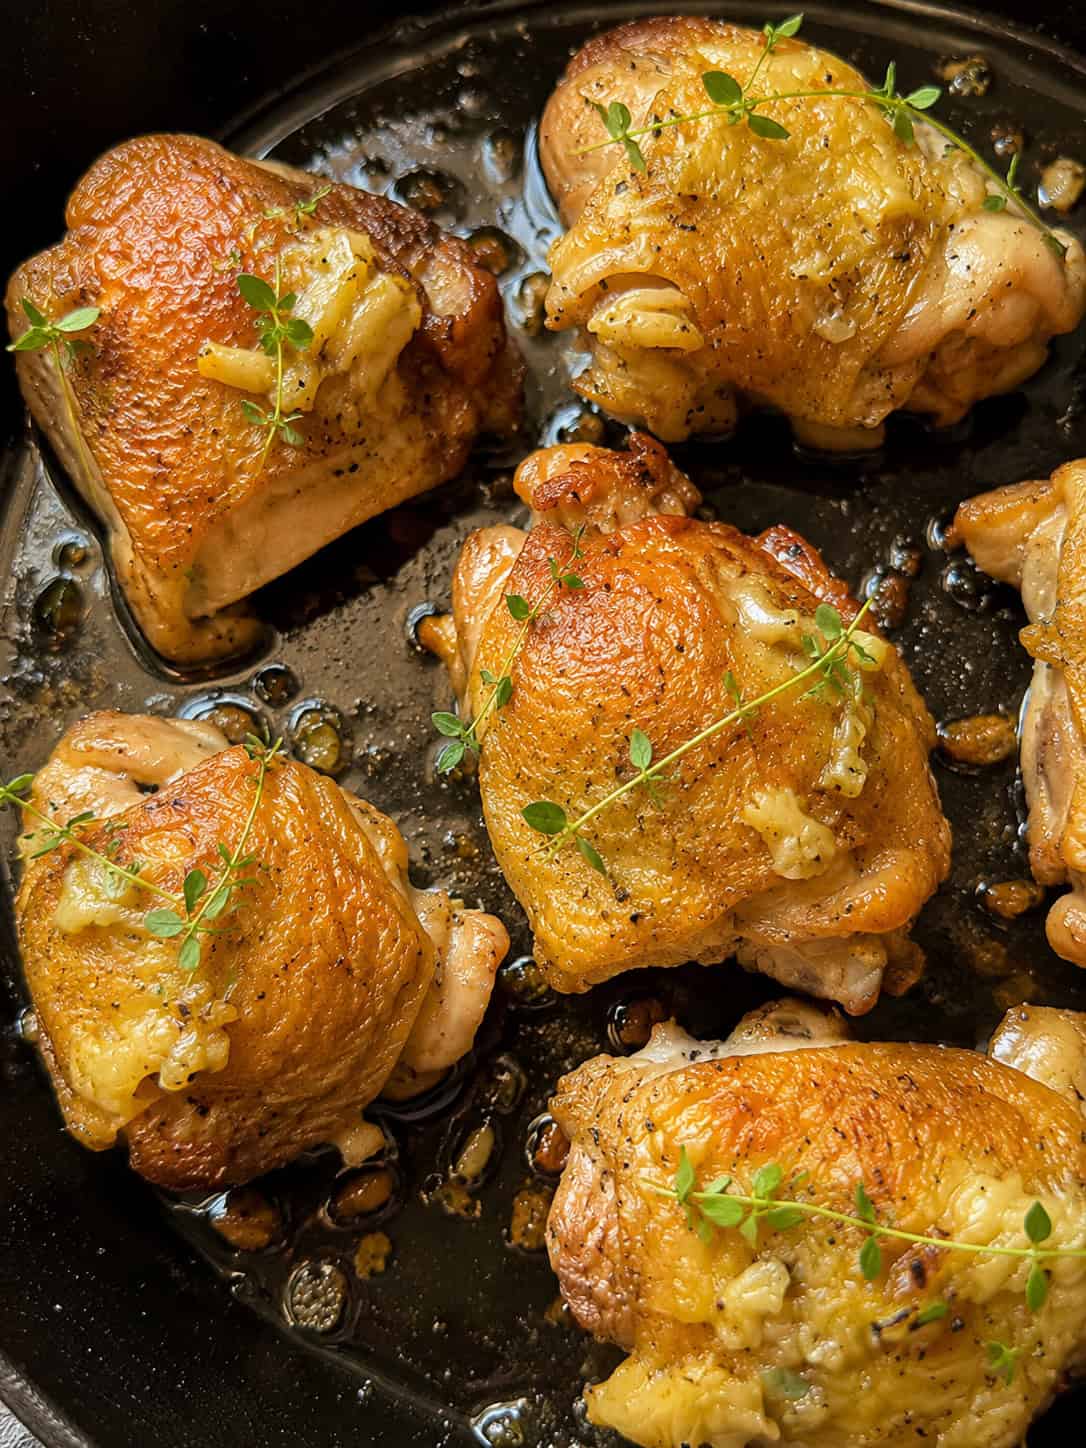
This Chicken Thighs with Roasted Garlic & Herbs might be one of my favourite baked chicken thighs recipes I make on repeat. Bone-in, skin-on thighs get seared until golden, then finished in the oven surrounded by a whole head of roasted garlic and a big handful of fresh herbs. Once it’s out of the oven, that garlic gets mashed into a paste and spread right over the top of each piece of chicken.
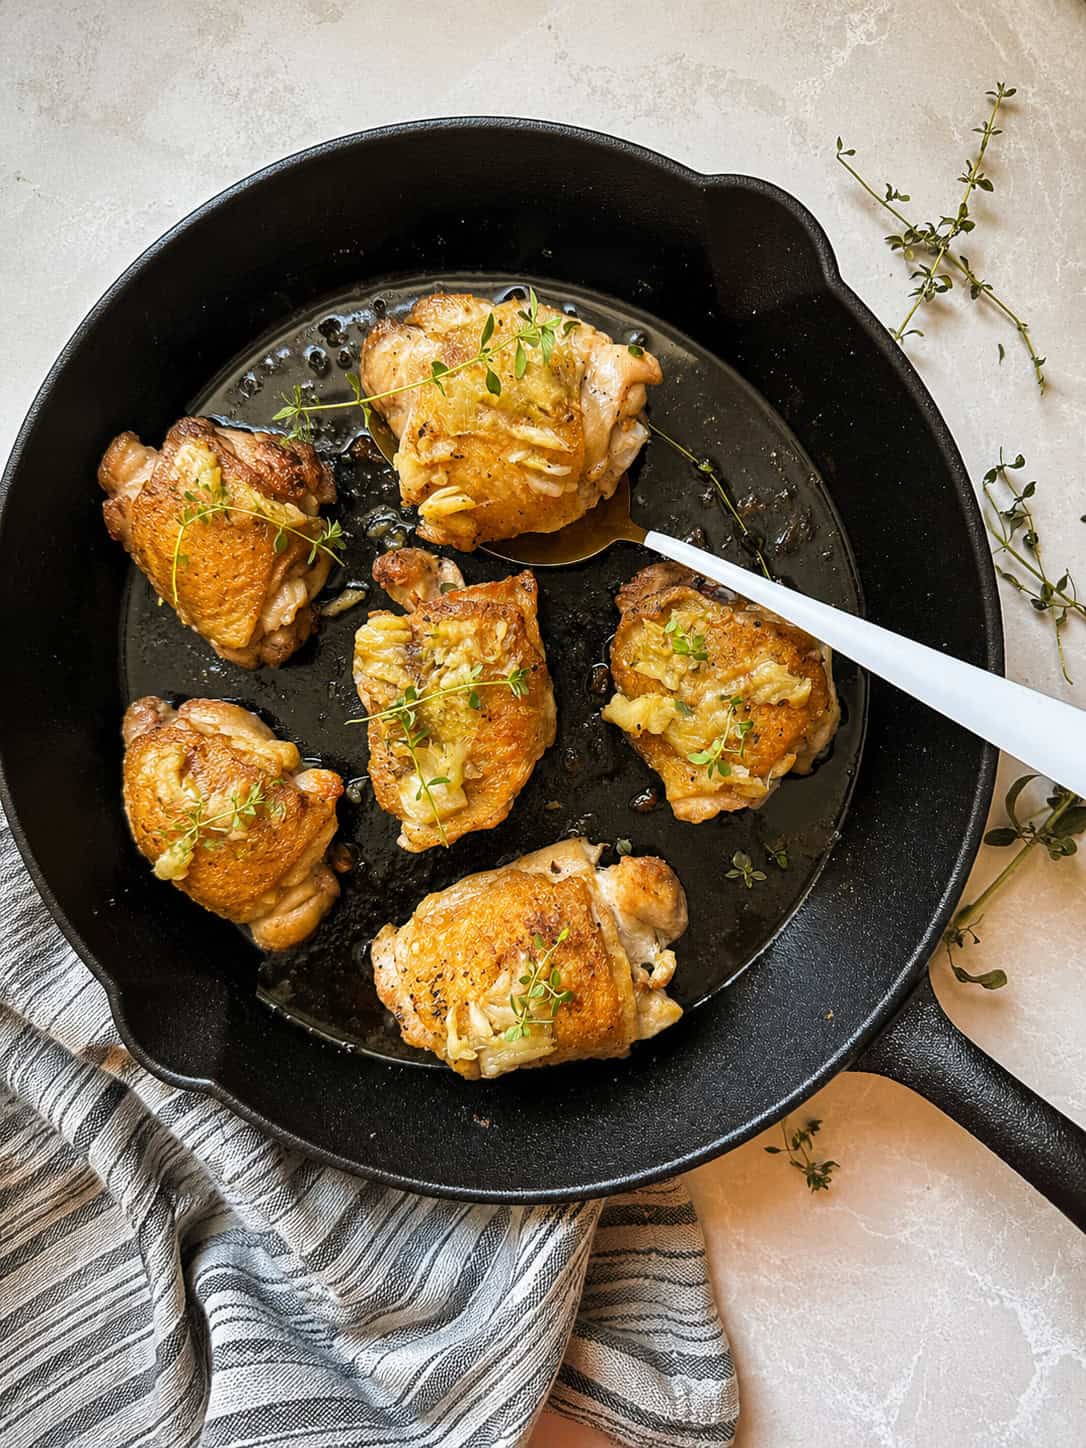
My mom has been making this one for a few years now. She thinks she originally saw a version of it from Daphne Oz, and when I finally asked her for the recipe, I was shocked at how few ingredients it actually calls for. The fresh herbs infuse the chicken as it roasts, and the garlic paste on top takes it from good to incredible. Use whatever herbs you have on hand; my favourites are rosemary, oregano, sage, and thyme, but this recipe is forgiving. Want more recipes like this one? Try my Honey Glazed Chicken and Chicken Marsala Recipe.
😍 Why You’ll Love This Baked Chicken Thighs Recipe
Only a handful of ingredients: Chicken, garlic, fresh herbs, oil, salt, and pepper. That’s it, and the flavour it produces doesn’t match how simple the ingredient list is.
One pan, start to finish: The chicken sears, roasts, and gets sauced all in the same oven-safe skillet.
The roasted garlic paste: Mashing the roasted garlic and spreading it over the chicken at the end is what makes this dish. It’s soft, sweet, and completely different from raw garlic.
Crispy skin, juicy inside: Searing the thighs first before they go in the oven is what gets that skin golden and crisp.
🧄 Ingredients You’ll Need To Make This Recipe
Chicken thighs: the bone keeps the meat juicy and the skin is what crisps up so nicely when seared.
Vegetable oil: used for searing the chicken thighs, since it can handle the higher heat without burning.
Garlic bulb: a whole head, roasted until soft and sweet, then mashed into a paste for spreading over the chicken.
Olive oil: just a small amount, drizzled over the garlic bulb before it’s wrapped in foil and roasted.
Fresh rosemary: one of my go-to herbs for this recipe, adding a woodsy, aromatic flavour to the chicken as it roasts.
Fresh thyme: brings a subtle, earthy flavour that pairs really well with the roasted garlic.
Fresh sage: adds a slightly peppery, savoury note that works great with chicken.
Fresh oregano: rounds out the herb mix with a little more brightness.
Salt and pepper: for seasoning the chicken generously on both sides before searing.
✔ How To Make Chicken Thighs with Roasted Garlic & Herbs
Begin by preheating your oven to 400 °F
Slice about ¼ inch off the top of the garlic bulb to expose the cloves. Drizzle with olive oil, season with a pinch of salt, and wrap tightly in aluminum foil. Place in the oven to roast while you prepare the chicken, allowing it to cook for at least 10 minutes before adding it to the recipe.
Season your chicken thighs generously with salt and pepper.
To a large oven safe pan, add your vegetable oil and bring to a medium/high heat.
Heat a large oven safe skillet over medium-high heat. Once hot, add the chicken thighs and sear for 1–2 minutes per side, or until nicely browned. The chicken does not need to be fully cooked at this stage. Transfer to a plate and set aside for a moment.
Carefully unwrap the roasted garlic and place the bulb in the center of the skillet. Arrange the seared chicken thighs around the garlic,
Evenly scatter the fresh herbs over the top, making sure they’re distributed across the entire pan.
Return back to the oven for 7-10 minutes, or until chicken is cooked through.
Once cooked, remove herbs and discard.
Squeeze the roasted garlic cloves out of the bulb directly into the center of the pan. Using a fork, mash the garlic into a paste, then spread a small amount over the top of each chicken thigh.
Serve and enjoy right away.
🗒 Variations
Different herbs: any combination of fresh herbs works here, try tarragon or marjoram if that’s what you have on hand.
Bone-in, skin-off: if you prefer less skin, this works fine, though you’ll lose some of that crispy texture from searing.
Add vegetables: small potatoes or halved shallots can be tucked into the skillet alongside the chicken before it goes into the oven.
🗒 Substitutions
Chicken thighs: bone-in, skin-on chicken breasts or drumsticks can be used, though cook times will need to be adjusted.
Vegetable oil: any neutral high-heat oil, like avocado or canola oil, works for searing.
Fresh herbs: if fresh isn’t available, dried herbs can be used, just cut the amount down to about a third and add them a little later so they don’t burn.
🍴 Leftovers? Lucky you.
Store leftovers in an airtight container in the fridge for up to 3 days. Reheat in a skillet over medium heat for a few minutes, or in the oven at 350°F until warmed through, to help keep the skin from getting soggy.
🤔 FAQ’s
Do I need an oven-safe skillet for this recipe?
Yes, since the chicken goes from stovetop searing straight into the oven in the same pan. Cast iron or a stainless steel skillet both work well.
Can I use boneless chicken thighs instead?
You can, but they’ll cook faster and won’t have quite the same juiciness, so keep a close eye on them in the oven and pull them out as soon as they’re cooked through.
Why do I need to sear the chicken before roasting?
Searing first is what gives the skin that golden, crispy texture. Skipping this step will still cook the chicken, but the skin won’t crisp up the same way.
Can I roast the garlic ahead of time?
Yes, roasted garlic keeps well in the fridge for a few days. Just warm it slightly before mashing it into a paste if it’s been chilled.
What should I serve with this?
Roasted potatoes, a simple green salad, or crusty bread to soak up the pan juices all work great alongside this.
👩🍳 Hungry For More?
If you loved this Chicken Thighs with Roasted Garlic & Herbs recipe, then make sure to check out a few of my other recipes you may also love:
- Honey Glazed Chicken
- Chicken Marsala Recipe
- Chicken and Onions
- Honey Mustard Chicken
- Best Chicken Marinade
💌 Let’s Stay Connected
Keep in touch with me on Instagram, TikTok, Facebook, and Pinterest! If you do make this Chicken Thighs with Roasted Garlic & Herbs recipe (or any recipe of mine) don’t forget to leave a review.
Chicken Thighs with Roasted Garlic & Herbs
Ingredients
- 2 tbsp vegetable oil
- 1 tsp olive oil, for the garlic
- 1 large garlic bulb, top removed
- 6 chicken thighs, skin on bone in
- salt and pepper, to each side of the chicken
- 1 small handful fresh rosemary
- small handful fresh thyme
- 1 small handful fresh sage
- 1 small handful fresh oregano
Instructions
- Begin by preheating your oven to 400 °F
- Slice about ¼ inch off the top of the garlic bulb to expose the cloves. Drizzle with olive oil, season with a pinch of salt, and wrap tightly in aluminum foil. Place in the oven to roast while you prepare the chicken, allowing it to cook for at least 10 minutes before adding it to the recipe.
- Season your chicken thighs generously with salt and pepper.
- To a large oven safe pan, add your vegetable oil and bring to a medium/high heat.
- Heat a large oven safe skillet over medium-high heat. Once hot, add the chicken thighs and sear for 1–2 minutes per side, or until nicely browned. The chicken does not need to be fully cooked at this stage. Transfer to a plate and set aside for a moment.
- Carefully unwrap the roasted garlic and place the bulb in the center of the skillet. Arrange the seared chicken thighs around the garlic,
- Evenly scatter the fresh herbs over the top, making sure they're distributed across the entire pan.
- Return back to the oven for 7-10 minutes, or until chicken is cooked through.
- Once cooked, remove herbs and discard.
- Squeeze the roasted garlic cloves out of the bulb directly into the center of the pan. Using a fork, mash the garlic into a paste, then spread a small amount over the top of each chicken thigh.
- Serve and enjoy right away.
Notes
Nutrition
Nutrition information is automatically calculated, so should only be used as an approximation.



I may have cooked this too long, but it was so delicious and crispy, I’ll probably repeat that mistake the next time.!! and I will use a non-stick pan next time, although I enjoyed scraping all the skin out of the Dutch oven and gobbling that down (once I cleared the table).