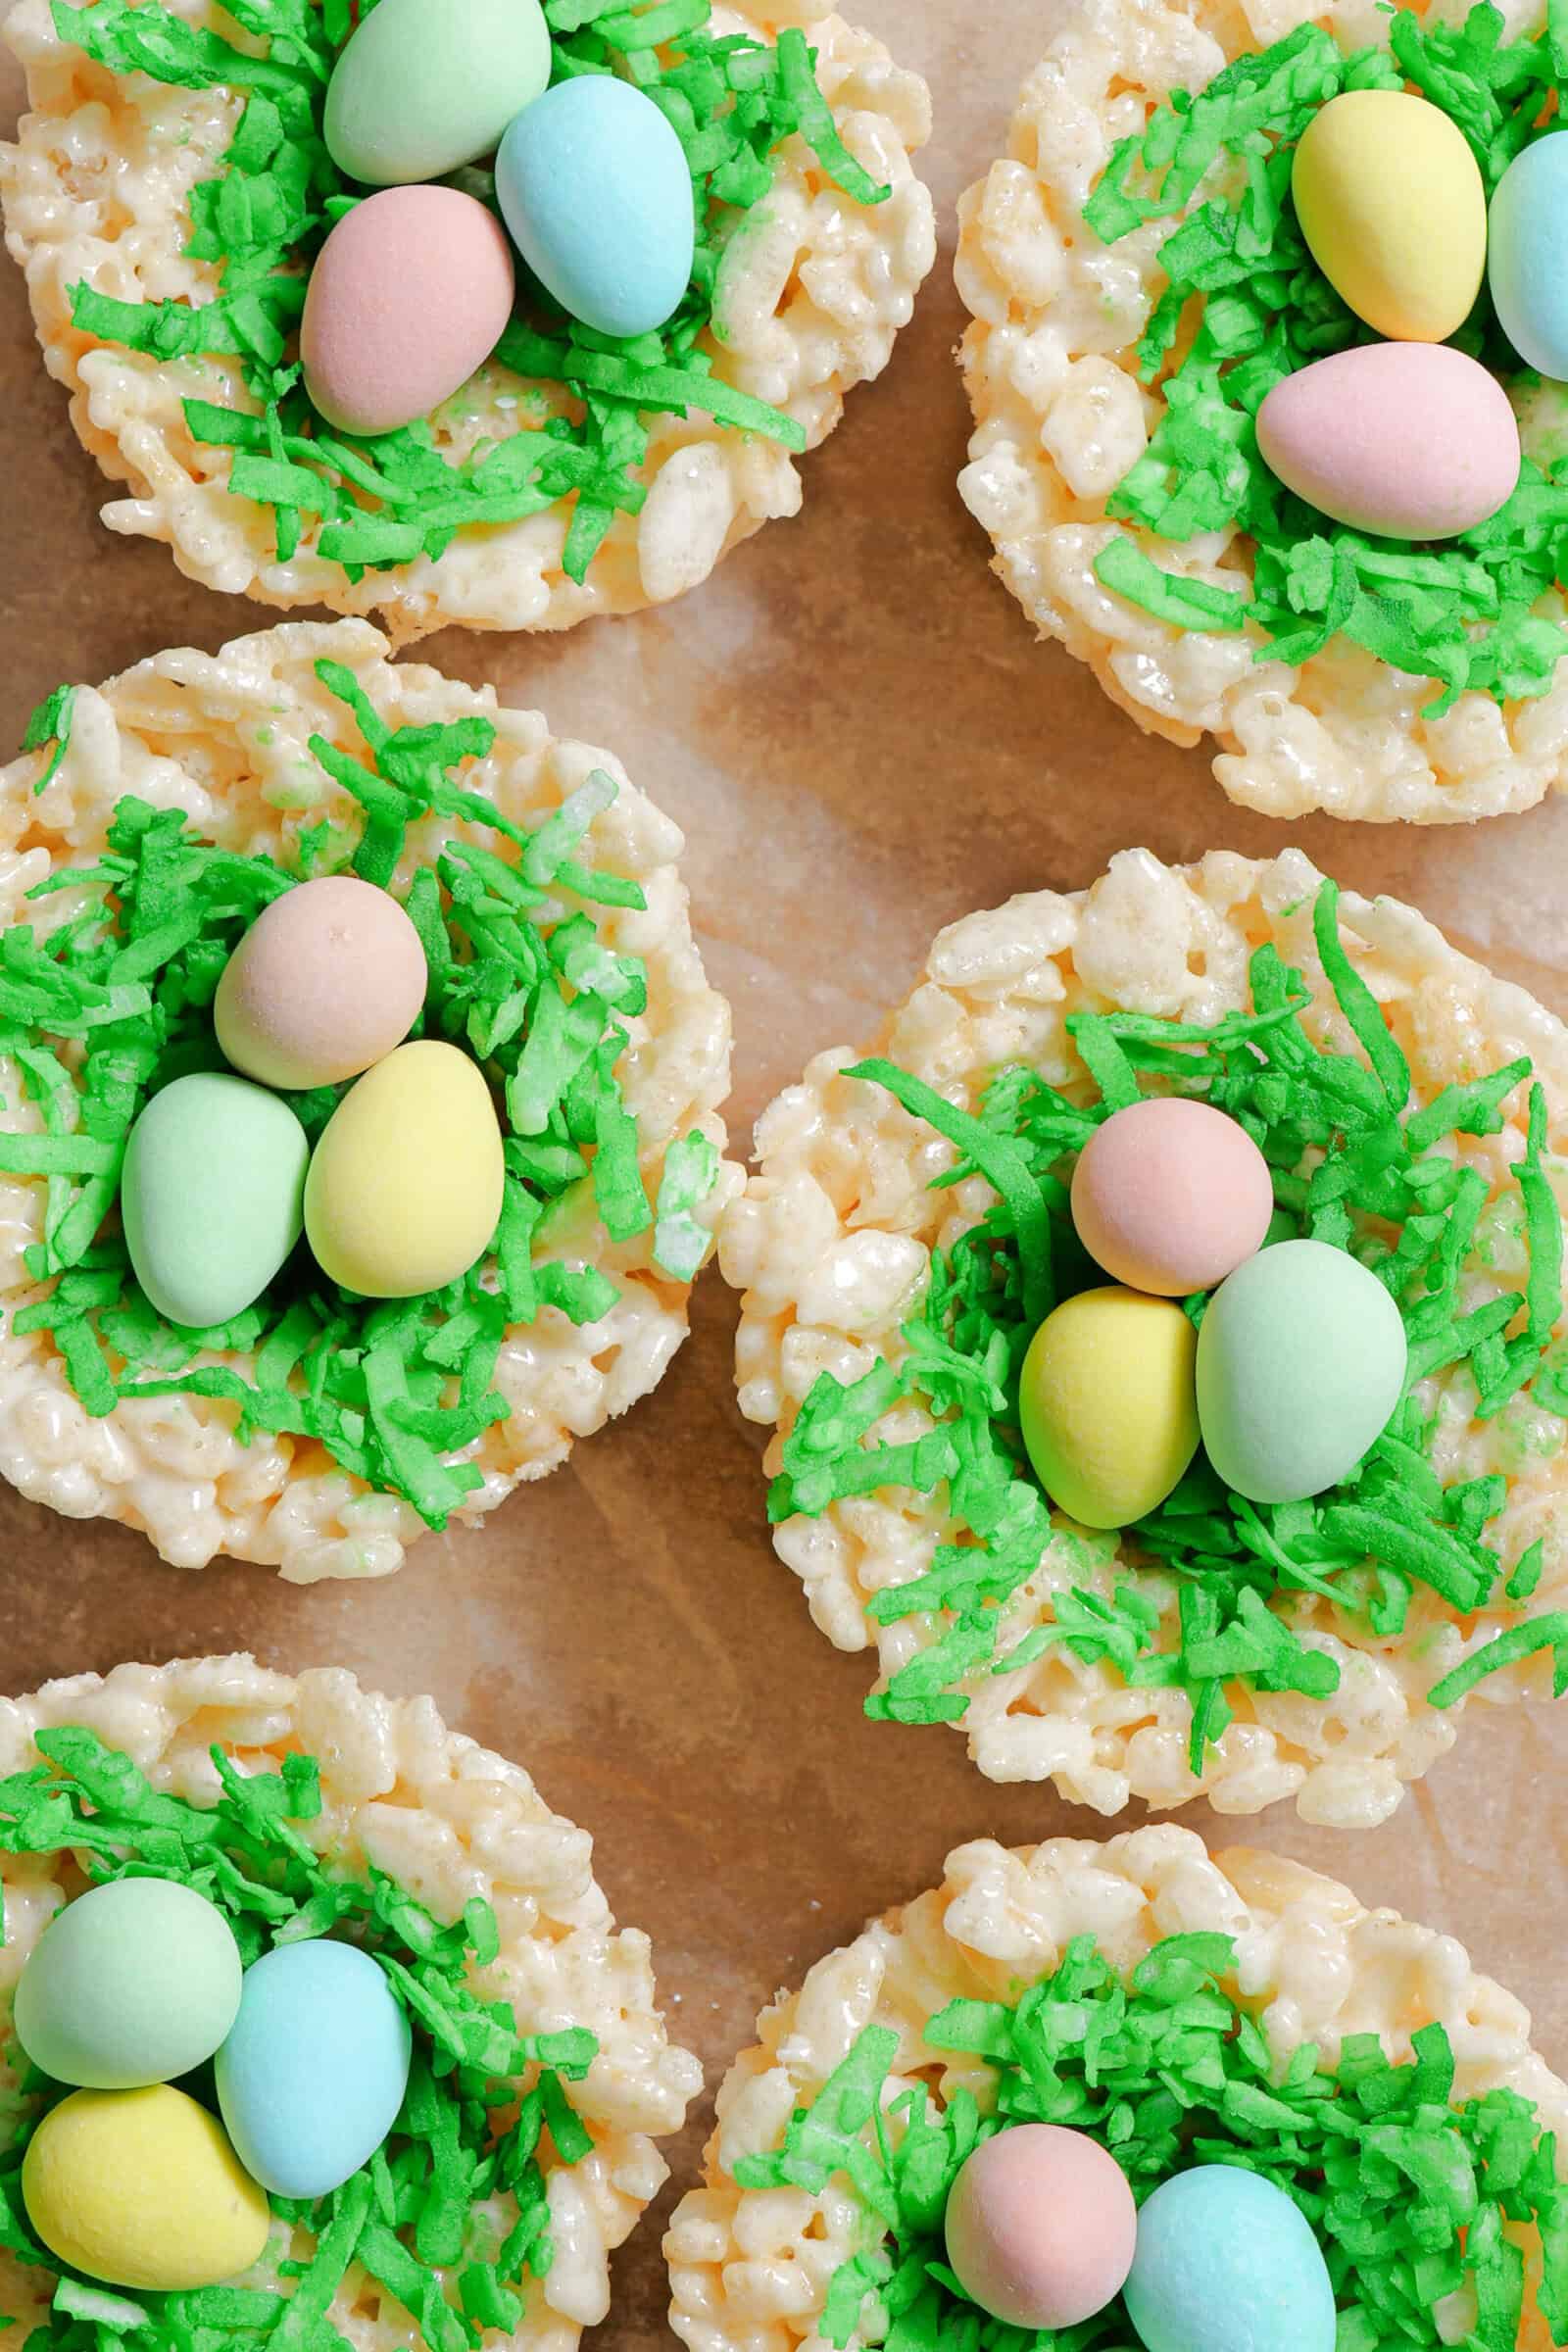
Have you ever had Rice Krispie Nests? Hear me out. They’re Rice Krispie treats shaped like little bird nests, filled with green coconut “grass” and topped with Cadbury mini eggs. These are the cutest Easter treats ever and they’re super easy. They’re crispy, chewy, buttery, and, of course, sweet. They’re everything you could ever want in a no-bake Easter treat.
These Easter Rice Krispie treats have become my go-to every spring. I make them with my kids, I bring them to gatherings, and I may or may not have a bag of Cadbury mini eggs in my nightstand because of these guys. They’re simple enough that little hands can help but impressive enough that people always ask for the recipe. Serve them as an Easter dessert, a holiday treat, or just because mini eggs are in season and that’s reason enough. Looking for more treats? You’ll love my Strawberry Shortcake or my Pistachio Cheesecake.
😍 Why You’ll Love These Rice Krispie Nests
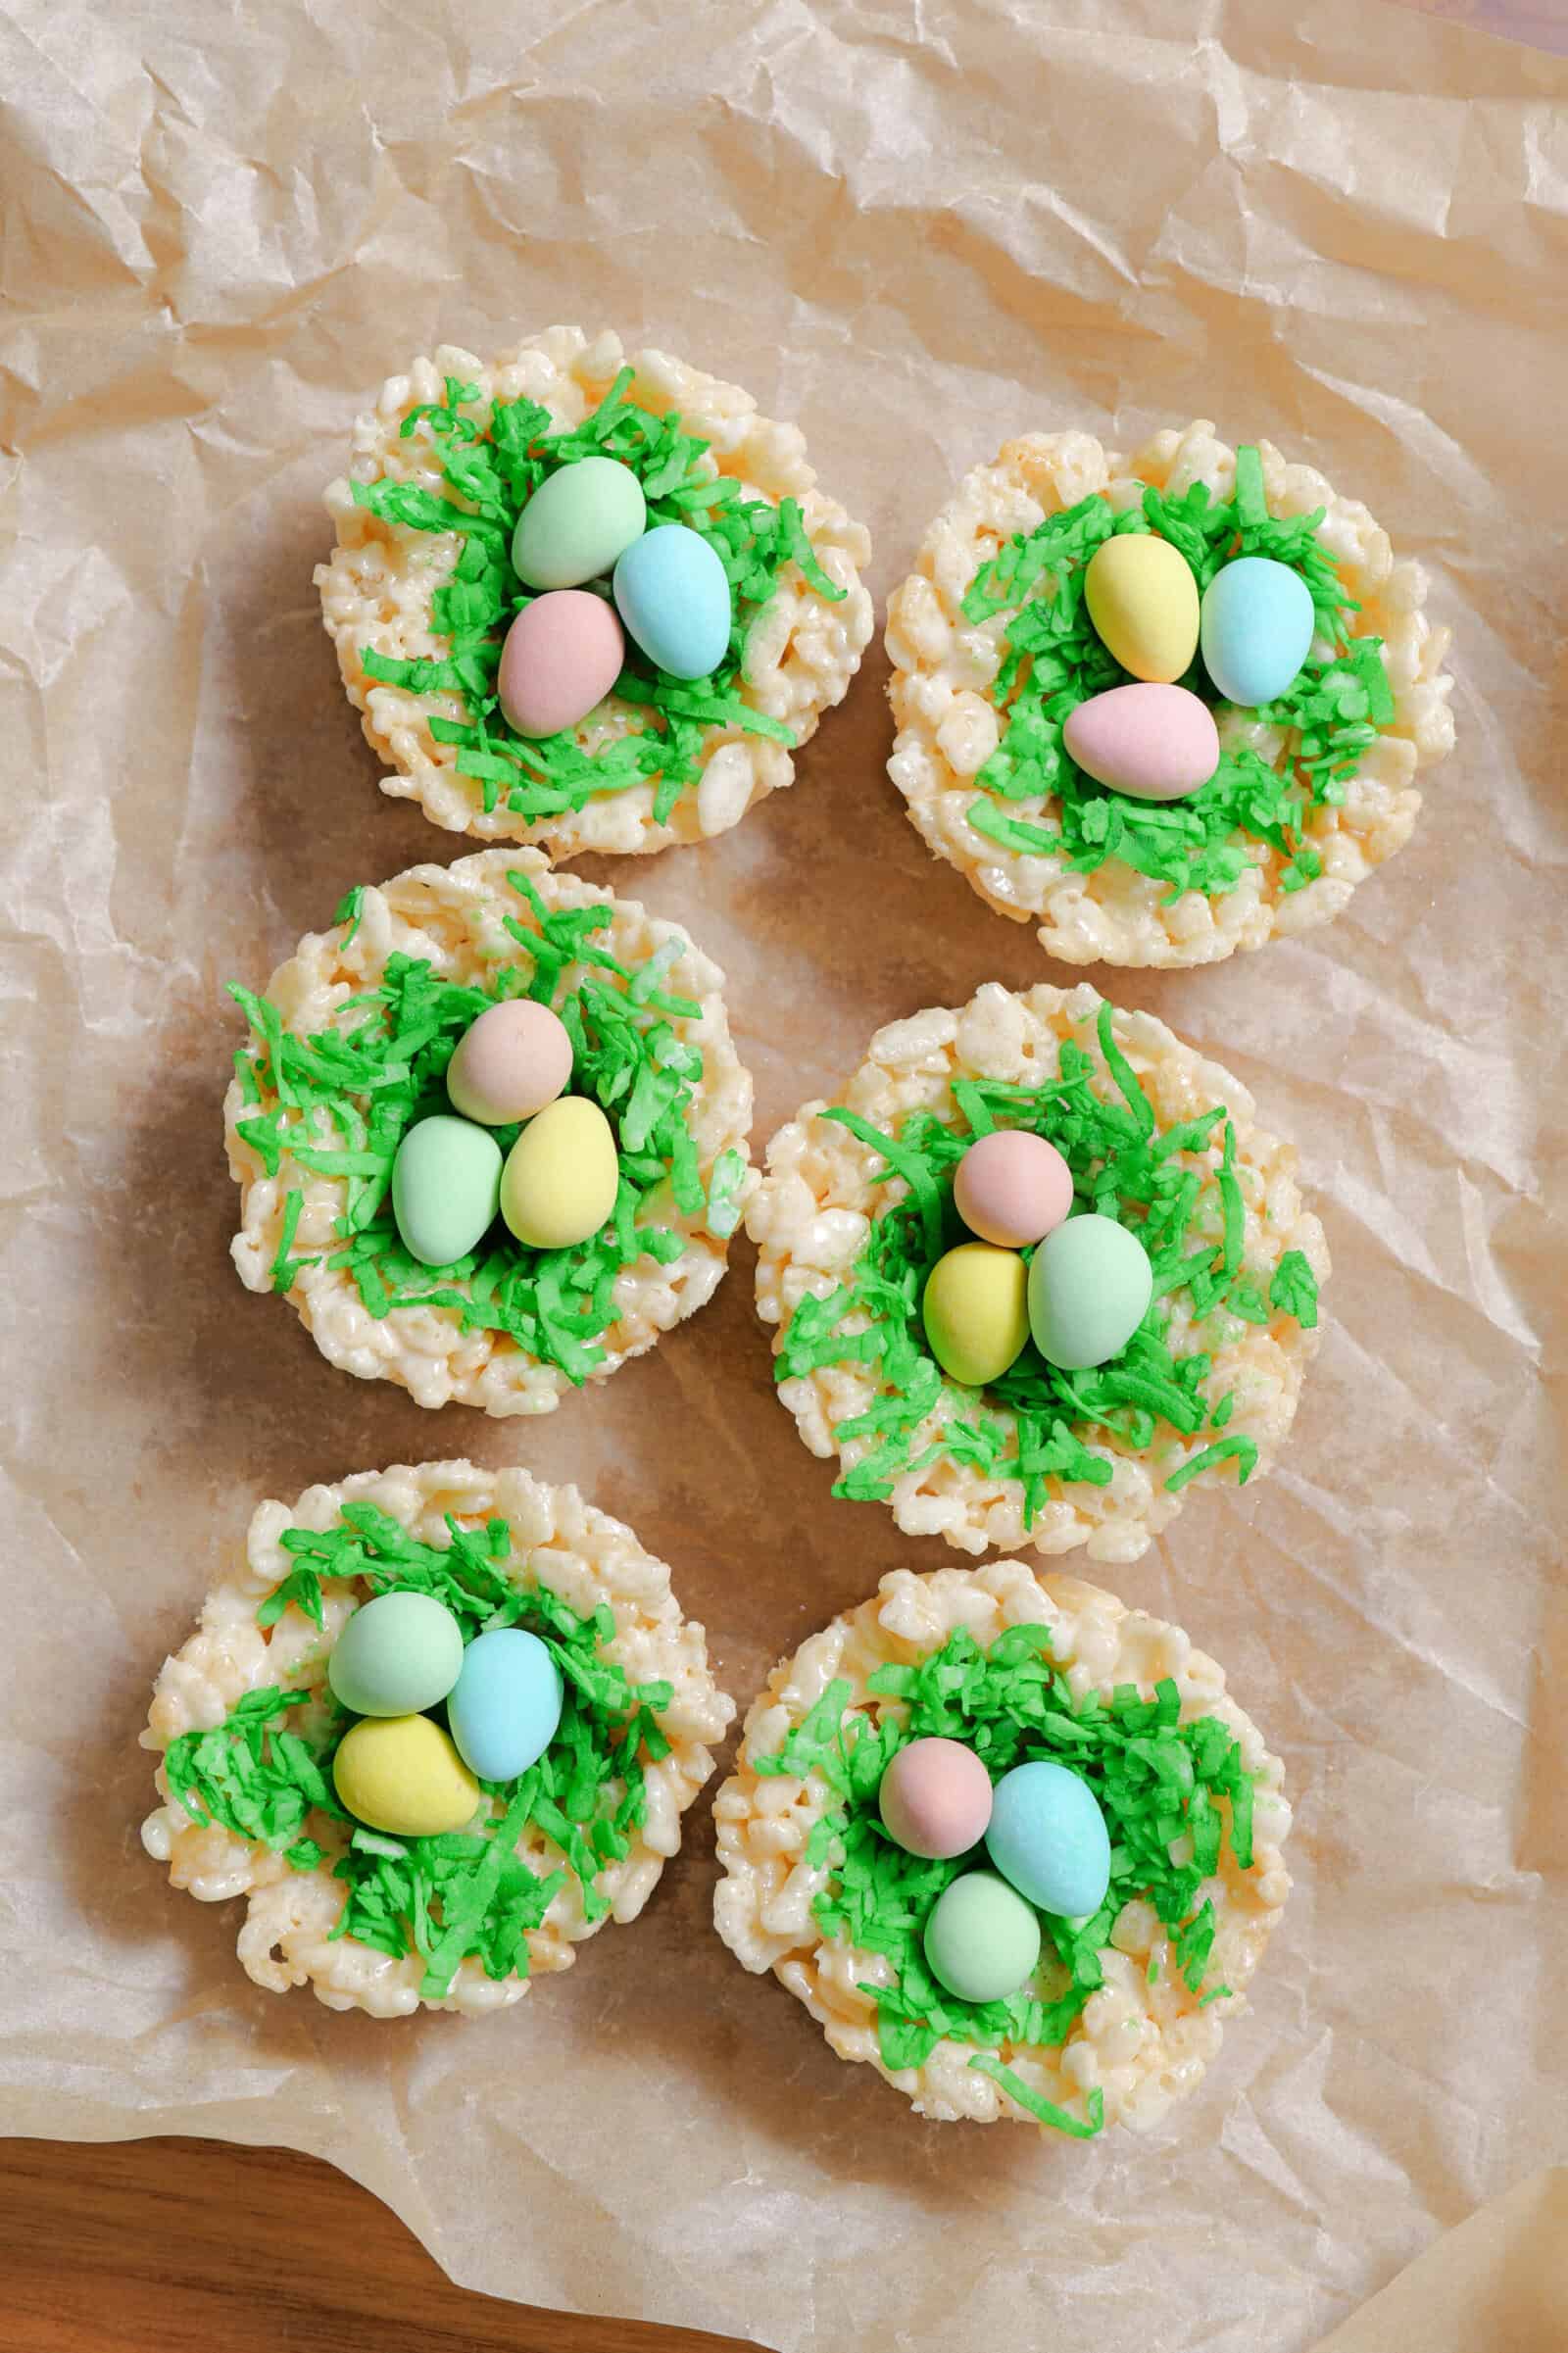
Low-effort, high-reward: The green coconut grass peeking out from under the candy eggs is adorable, and nobody has to know it took you 20 minutes.
No oven needed: Everything happens on the stovetop and in the fridge, which makes this one of the easiest treats you can pull together around the holidays.
Perfect for kids to help with: Pressing the mixture into the tins, coloring the coconut, placing the eggs—kids can do all of it and feel very proud of themselves.
🪺 Ingredients You’ll Need for These Rice Krispie Nests
Rice Krispies: Eight cups gives you enough for about 18–20 nests depending on how generous you are with each one.
Butter: Salted butter adds a little extra flavor and keeps the mixture from being overwhelmingly sweet.
Marshmallows: Stick with full-size ones. They melt more evenly and you’ll spend a lot less time stirring.
Vanilla extract: It rounds out the sweetness in a quiet but noticeable way.
Flaked sweetened coconut: This is your “grass” that gets tossed with green food coloring.
Green food coloring: It doesn’t take much to get you a nice vibrant green.
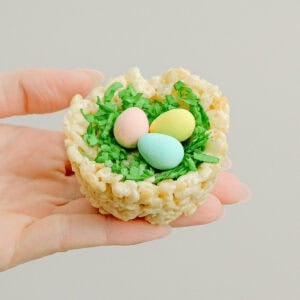
Cadbury mini eggs: The whole reason we’re here. Three or four per nest is the sweet spot.
✔ How To Make Rice Krispie Nests
Grease all sides of a muffin tin. I use two standard muffin tins—this recipe makes about 18–20 nests. In a large pot, melt the butter over low–medium heat. Add the marshmallows and cook on low, stirring often, until almost fully melted, then add the vanilla.
Turn off the heat and add the Rice Krispies. Mix until fully coated and combined. Using two spoons (or your hands), scoop the mixture into the muffin tins, filling each one until nearly full. Repeat until all the mixture is used. If it gets too sticky, lightly wet your hands or spoons with cold water to help. Shape into nests by pressing the center down and gently pushing the mixture up the sides.
Prepare your coconut filling. Add the shredded coconut to a bowl and mix in food coloring until you achieve your desired green shade. I use about 1/2 tsp. Once combined, use tongs to fill the center of each Rice Krispie nest or square with the green coconut.
Then, with the tongs, gently shift some coconut toward the edges so that once you place the candy eggs, the coconut still peeks out like grass. Let rest for 30 minutes in the fridge,
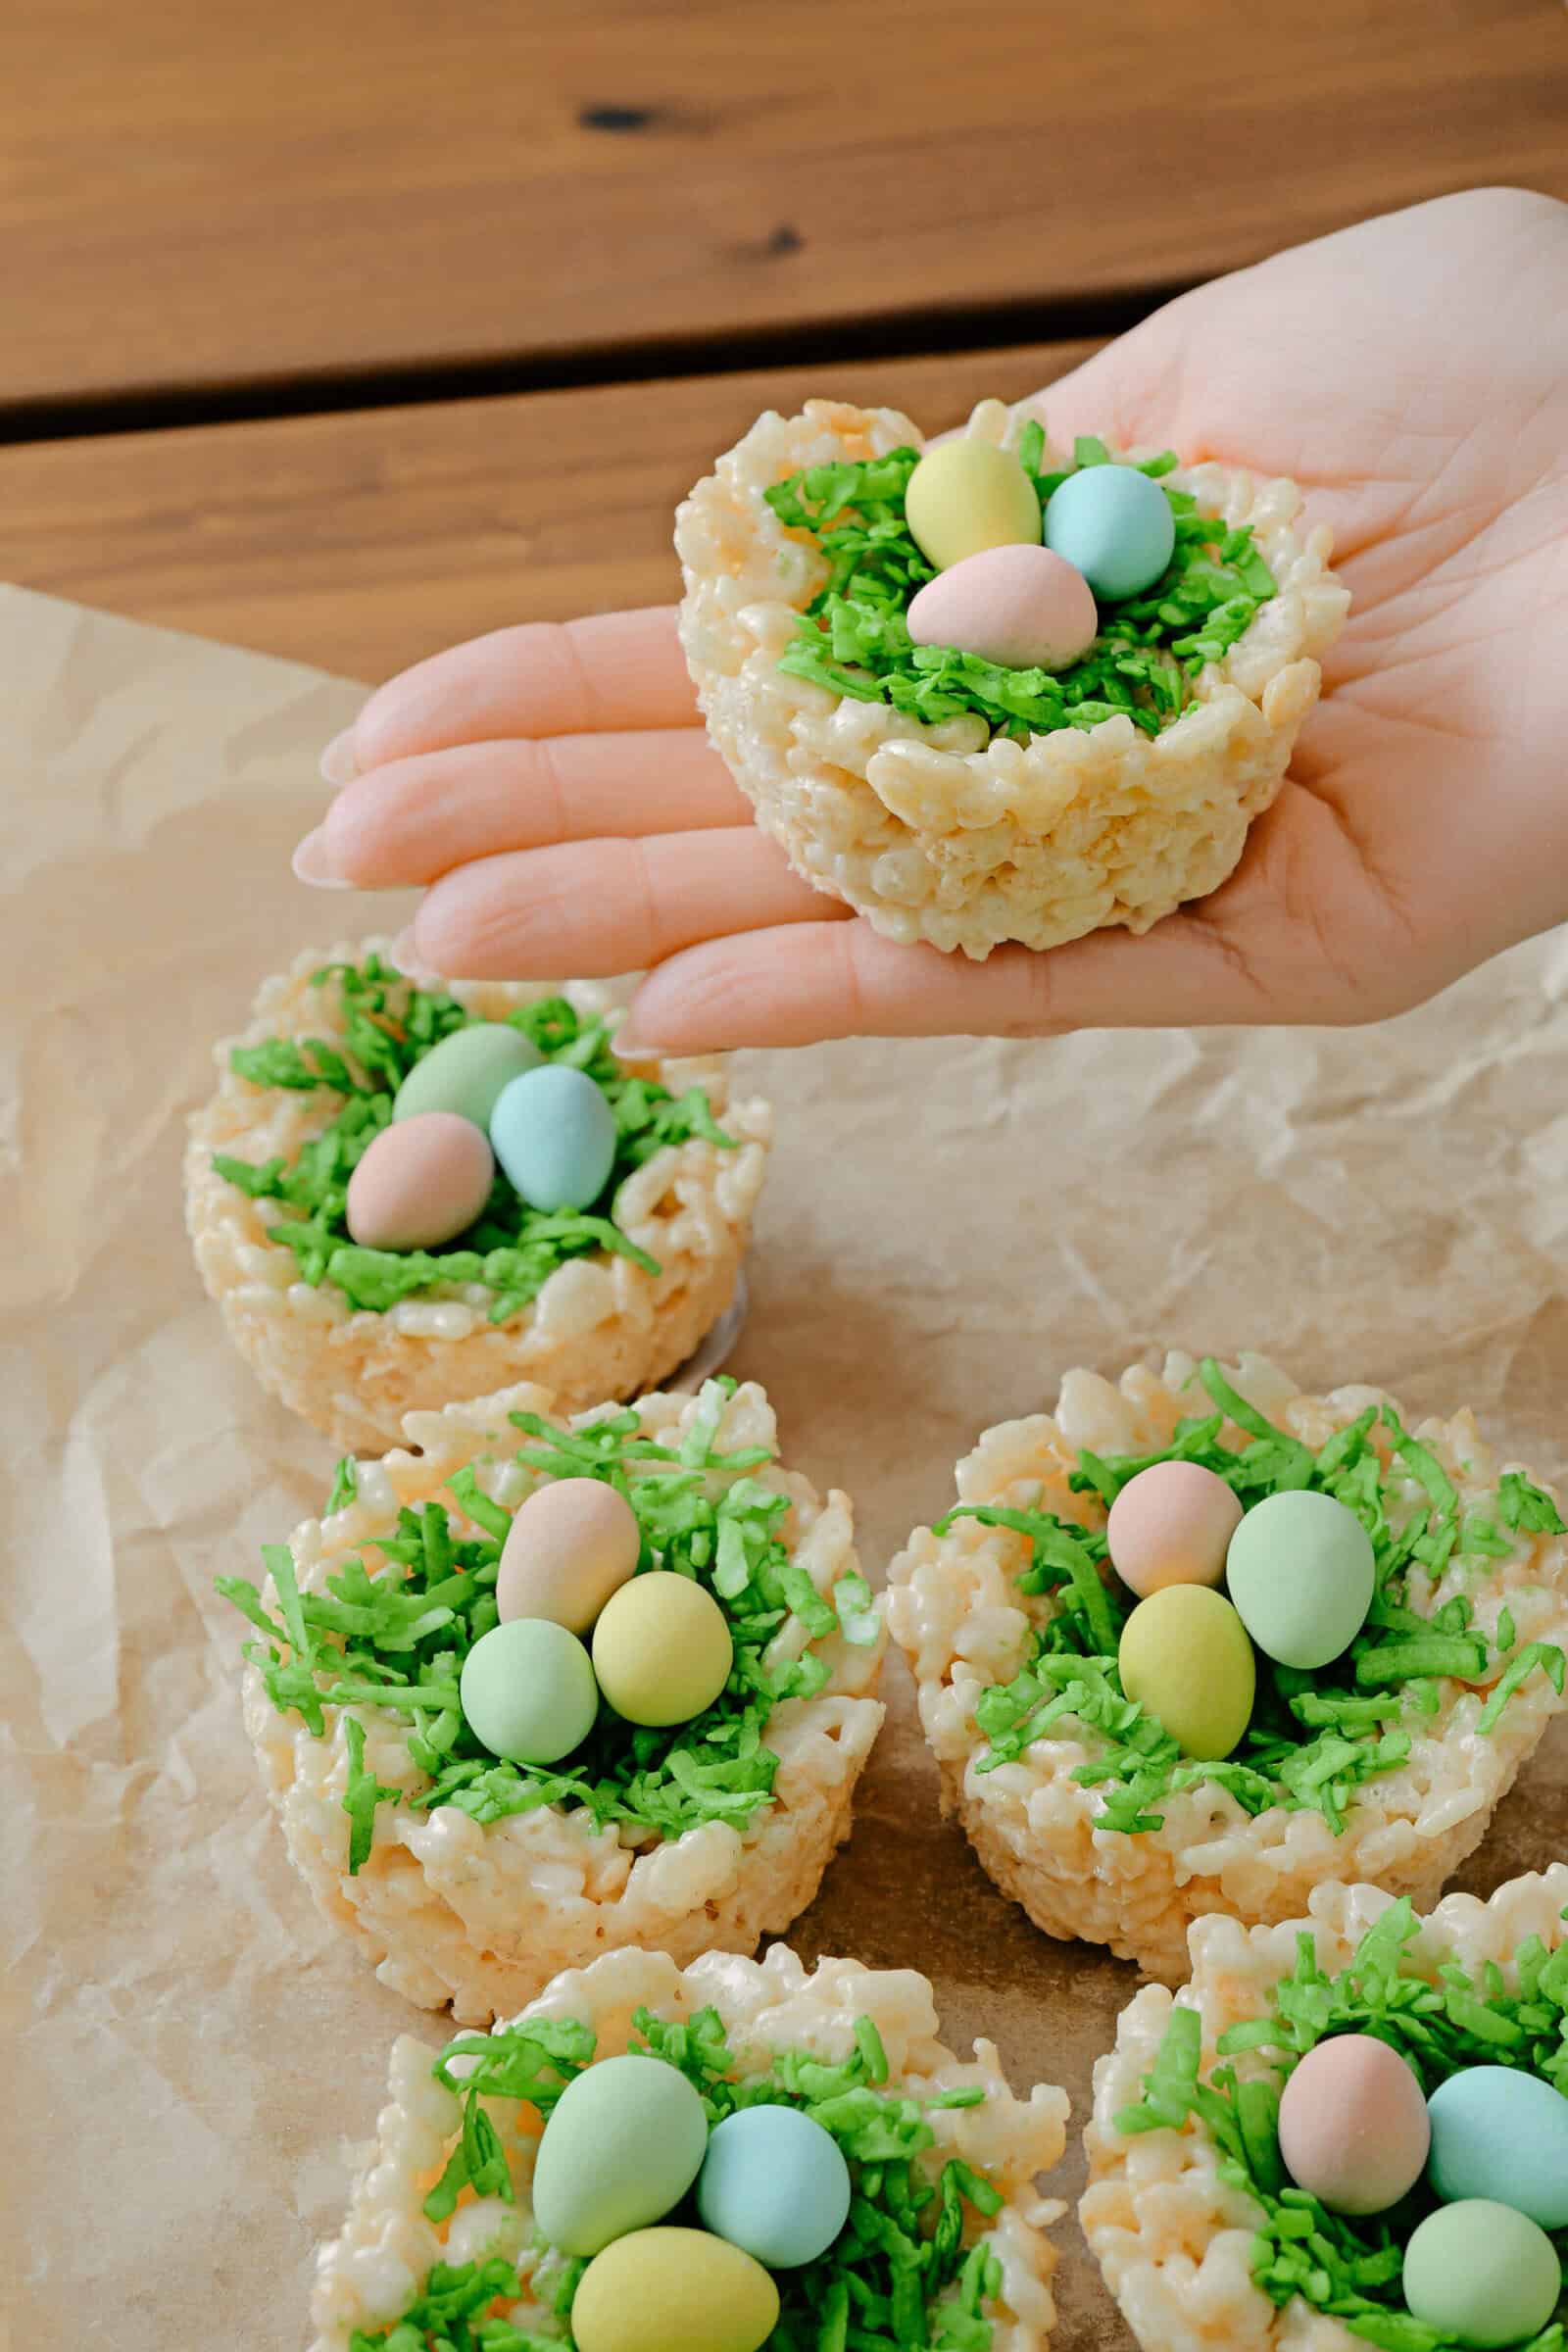
To remove the nests, glide a knife gently around the entire edge of the muffin tin, then carefully press upwards and lift the nest out with your hands. Top each nest with 3–4 mini eggs and enjoy!
🗒 Variations
Chocolate nests: Melt a cup of chocolate chips into the marshmallow mixture before adding the cereal for a richer version.
Peanut butter twist: Stir two tablespoons of peanut butter into the melted marshmallow mixture. It goes surprisingly well with the chocolate eggs.
Different candy eggs: Robins eggs, jelly beans, or even M&Ms work great if mini eggs aren’t your thing or you can’t find them.
🗒 Substitutions
Butter: Unsalted works fine—just add a small pinch of salt to the pot to compensate.
Marshmallows: Marshmallow fluff works in a pinch. Use about 3 cups and watch the texture carefully since it can get a little denser.
Rice Krispies: Any puffed rice cereal does the job. The store brand version is usually identical.
Coconut: Not a coconut fan? Skip the filling entirely and just use a little green-tinted white chocolate drizzled around the edge of each nest.
🍴 Leftovers? Lucky You.
Store any leftover nests in an airtight container at room temperature for up to three days. They don’t need to go back in the fridge—the cold actually makes them firmer and harder to bite. Stack them carefully with parchment between layers so the eggs don’t crack.
🤔 FAQ’S
Can I make these ahead of time?
Yep! These hold up really well if you make them a day in advance. Just store them in an airtight container at room temperature overnight and add the mini eggs right before serving so they stay looking their best.
Why is my mixture so sticky and hard to work with?
This is completely normal, especially as the mixture starts to cool. Dampening your hands or spoons with cold water makes a huge difference and keeps things moving. Working quickly while the mixture is still warm also helps a lot.
My nests are coming out too hard. What went wrong?
This usually happens when the heat is too high or the marshmallows are cooked for too long. Keep the heat low and pull the pot off the burner as soon as the marshmallows are melted — the residual heat does the rest. Overcooking the marshmallow mixture is the most common reason Rice Krispie treats turn out tough instead of soft and chewy.
Can I use a different mold if I don’t have a muffin tin?
A silicone muffin mold works here and makes removal even easier than a standard metal tin. You could also shape them freehand on a greased baking sheet.
Do the mini eggs need to be pushed into the nest or just set on top?
Just set them on top once the nests have fully set—they’ll sit naturally in the coconut without needing to be pressed in.
👩🏻🍳 Hungry For More?
If you loved these Rice Krispie Nests, then make sure to check out a few of my other potato recipes you may also love:
- Strawberry Shortcake
- Banana Chocolate Chip Bread
- Ginger Molasses Cookies
- Chocolate Loaf Cake
- Chocolate Muffins
- Homemade Granola Recipe
- Chex Mix Puppy Chow
💌 Let’s Stay Connected
Keep in touch with me on Instagram, TikTok, Facebook, and Pinterest! If you do make this Rice Krispie Nests recipe (or any recipe of mine) don’t forget to leave a review.
Rice Krispie Nests
Equipment
- 2 standard muffin tins
- 1 large pot
Ingredients
- 8 cups rice krispies
- 1/2 cup butter, salted
- 1 400 gram bag marshmallows, original
- 1/2 tsp vanilla
Coconut Filling
- 1 cup flaked coconut, sweetended
- 1/2 tsp green food coloring, or more
- 1 200 gram bag mini eggs, cadbury
Instructions
- Grease all sides of a muffin tin using a cooking spray.I use two standard muffin tins—this recipe makes about 18–20 nests.
- In a large pot, melt the butter over low–medium heat.
- Add the marshmallows and cook on low, stirring often, until almost fully melted, then add the vanilla.
- Turn off the heat and add the Rice Krispies. Mix until fully coated and combined.
- Using two spoons (or your hands), scoop the mixture into the muffin tins, filling each one until nearly full. Repeat until all the mixture is used. If it gets too sticky, lightly wet your hands or spoons with cold water to help.
- Shape into nests by pressing the center down and gently pushing the mixture up the sides of the muffin tin.
- Prepare your coconut filling. Add the shredded coconut to a bowl and mix in green food coloring until you achieve your desired green shade. I use about 1/2 tsp.
- Once combined, use small tongs to fill the center of each Rice Krispie nest with the green shredded coconut. Then, with the tongs, gently shift some coconut toward the edges so that once you place the chocolate eggs, the coconut still peeks out like grass.Let rest for at least 30 minutes in the fridge.
- To remove the nests, glide a knife gently around the entire edge of the muffin tin, then carefully press upwards and lift the nest out with your hands.
- Top each nest with 3–4 mini eggs and enjoy!
Nutrition
Nutrition information is automatically calculated, so should only be used as an approximation.
I made these for our family Easter celebration and they were a hit. Super cute and tasty!
Hi Emily, thanks for the great review. I agree with you, super cute and easy to make.
– Sammy
I made these for Easter as well, and they are such an adorable way to round out a dessert table with a bit of whimsy. They were loved by kids and adults!
Hi Beth, glad they were a hit 🙂 I agree they do add a bit of whimsy.
– Sammy